Docker Desktop - Portainer Agent
If you are looking to set up a Portainer Host use the Docker Desktop Portainer Host Guide
Prerequisites
- Docker Desktop installed
Portainer Agent
Open up Portainer and go to the "Environments" section. Then click the "Add Environment" button (top right).
Select "Docker Standalone" and then the "Start Wizard" button.
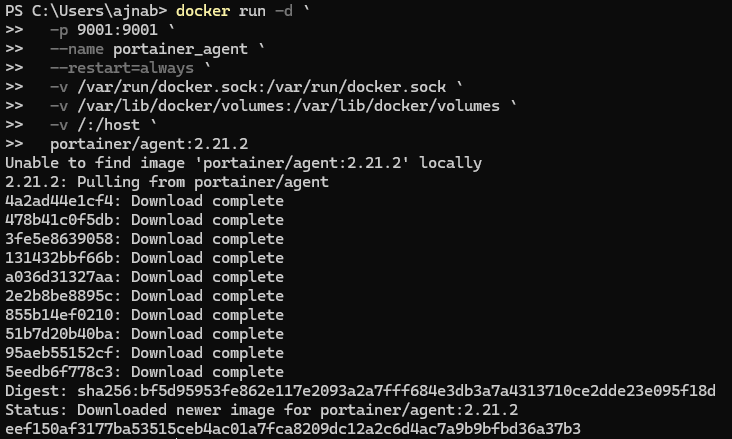
Make sure "Agent" is selected. There is a command listed there, unfortunately you cannot copy and paste this into the PowerShell terminal. PowerShell does not like the back slashes. Instead they must be replaced with backtics. You can copy the code below:
docker run -d `
  -p 9001:9001 `
  --name portainer_agent `
  --restart=always `
  -v /var/run/docker.sock:/var/run/docker.sock `
  -v /var/lib/docker/volumes:/var/lib/docker/volumes `
  -v /:/host `
  portainer/agent:<INSERT VERSION>
But make sure to grab the version from the command shown in Portainer.
Open up a terminal in Windows with win + x and then select "Terminal". Paste in the command. It should download the image and deploy the container.

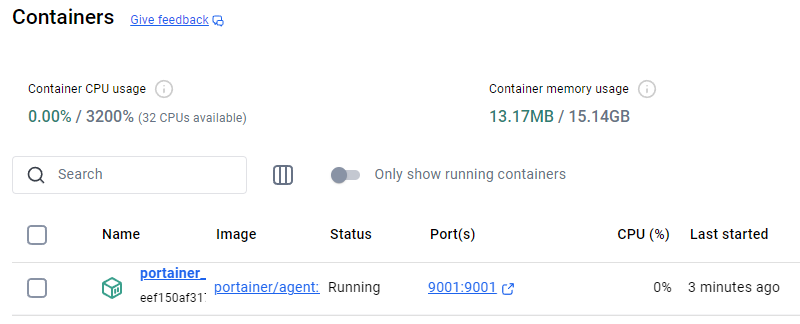
After it is finished, it should be visible in Docker Desktop.

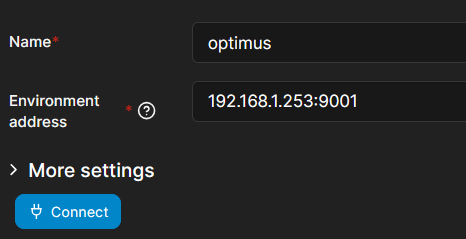
Now go back to Portainer, at the bottom enter a name for your new environment, along with the IP address and port. To get the IP address use ipconfig
ipconfig
Then find the "IPv4 Address" for the appropriate LAN Adapter. On my setup it is the WiFi Adapter:

I will name this environment "optimus" and use the IP from ipconfig.

Then click the "Connect" button, you should see a success message. After returning to the Home page, the new environment should now be visible.
