Portainer Server/Agent Installation
Introduction
This guide will cover how to setup Portainer on Ubuntu 24.04. We will cover both installing the Portainer Server and the Agents in this guide.
Installing Portainer Server
Because Portainer runs as a container inside Docker, the installation is SUPER easy. The first step is to create the volume that Portainer will use
Create Portainer Data Volume
sudo docker volume create portainer_data
Run Docker Command
Now run the Docker command to download and deploy the Portainer image
sudo docker run -d -p 8000:8000 -p 9443:9443 --name portainer --restart=always -v /var/run/docker.sock:/var/run/docker.sock -v portainer_data:/data portainer/portainer-ce:2.21.4
Verify
Make sure that you update the "portainer/portainer-ce:2.21.4" is the latest version by checking the Official Docs listed above. To confirm the deployment was successful, you can run
sudo docker ps

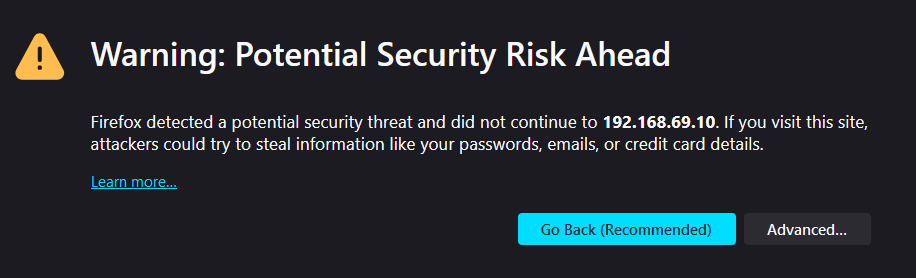
Portainer can now be accessed by opening up a browser and navigating to https://localhost:9443 if Portainer is running on the same host. If Portainer was deployed on another host, use the internal IP address of the host that Portainer was deployed on. Firefox will display a warning when first navigating to the Portainer site. Chrome also gives a similar warning.
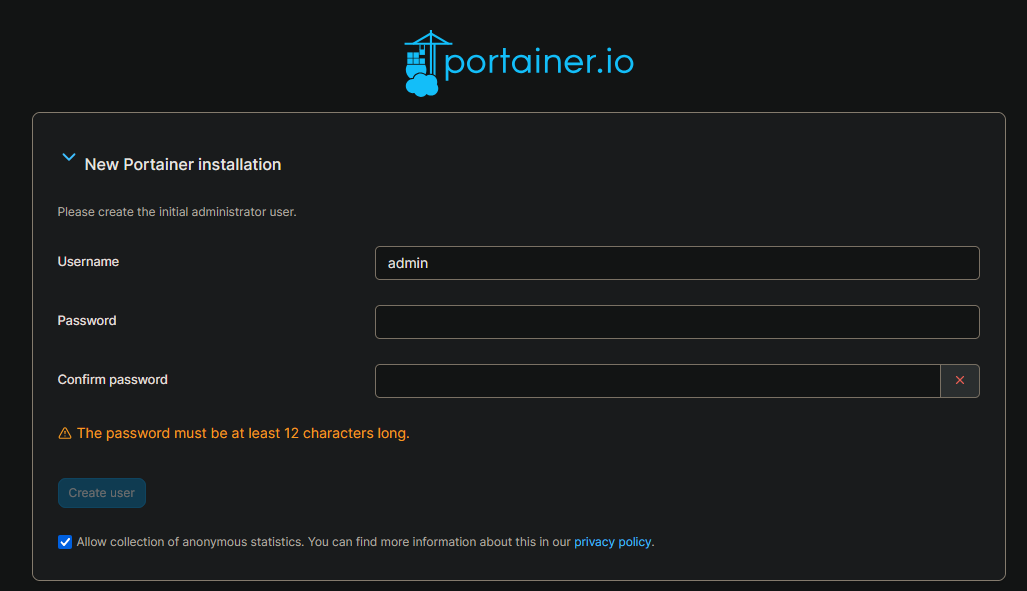
Accept the risk and continue. It is using a self-signed certificate since Portainer is being hosted locally. Click "Advanced" and then "Accept the Risk and Continue". Now create a login for Portainer, I usually leave the Username as "Admin" and then create a secure password. Then hit "Create user".
Once you log in, click the big "Get Started" button to view your Environments
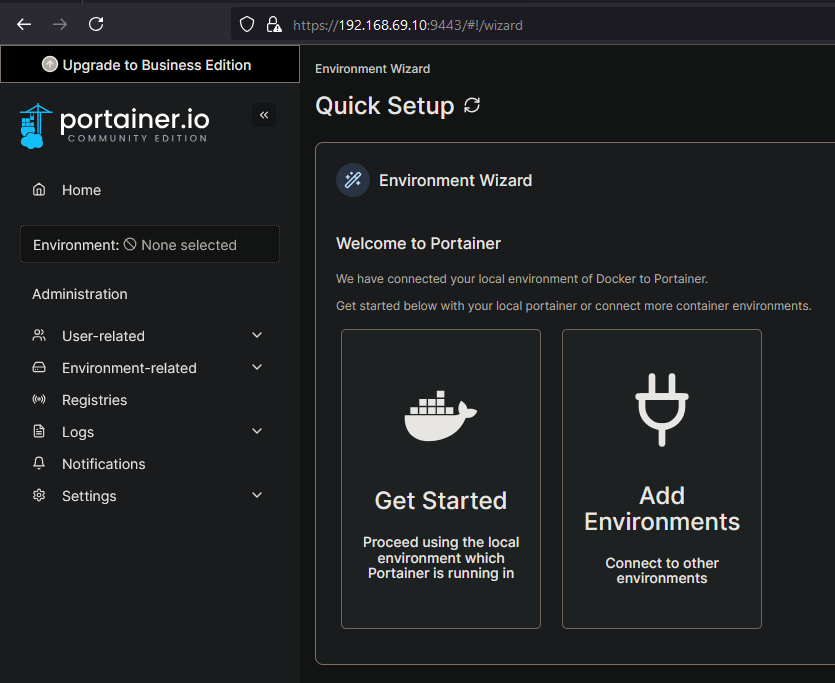
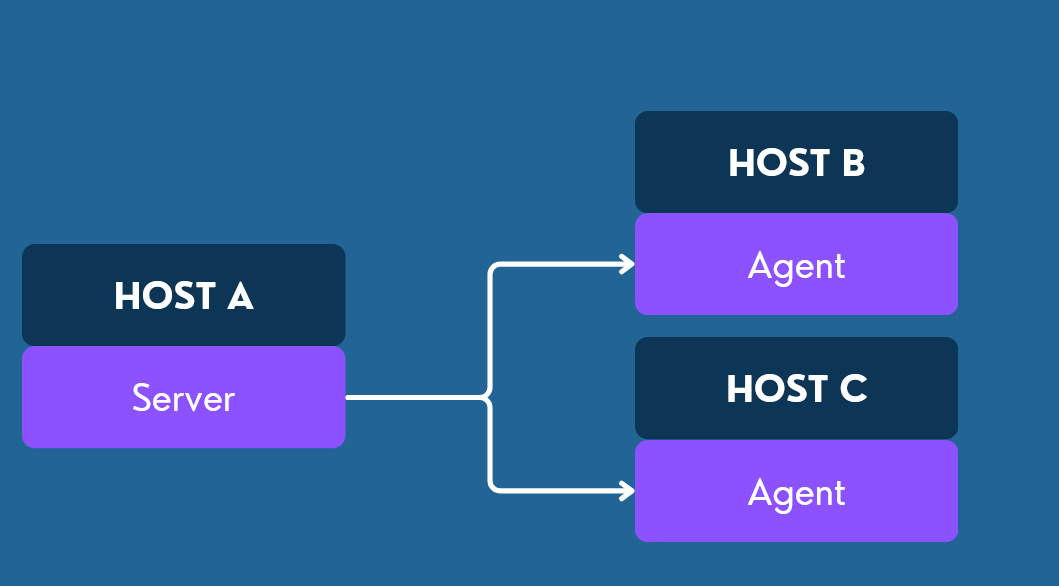
The only environment available will be the host running Portainer. Additional hosts can be added as environments and managed from Portainer.
- Stacks - These are like Docker Compose files, basically infrastructure as code. Allowing you to deploy many Docker containers at once.
- Container - This will list out all the containers you have running
- Image - This will show you all the images you have downloaded
- Volume - This will show you all the volumes you have created
- Networks - If you see the pattern here, this will show you the Networks. By default you will already have some.
Connecting a New Environment
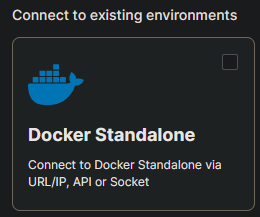
Once a host on your network is running a Portainer server, it is easy to add new Environments to your instance by using Portainer Agents. To do this, click the "Environment-related" menu item under "Administration". Then click "Add environment" (top right). Select "Docker Standalone"
Then click the "Start Wizard" button. Leave "Agent" selected, and then copy the command listed for "Linux & Windows WSL". Open up the terminal on the host you want to add as an Agent, and paste it in. Do not forget "sudo" if the user is not in the "docker" group.
Once the container deploys, go back to Portainer and fill out the "Name" input. I usually come up with fun names or themes for my hosts so I can remember which ones they are. In the second input you will need to put the IP address of the host you are adding and the port 9001. You can find your local network IP by running
hostname -I
Usually it's something like 192.168.X.X (where the X will be dependent on your network). In the below example, mine is 192.168.69.10

To add my Environment I will put
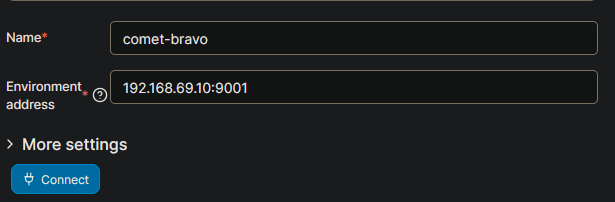
And then click "Connect". There should be an alert notifying that the environment was connected. To view all the environments, click on the "Home" button to go back to the home page and see if the Environment is there.
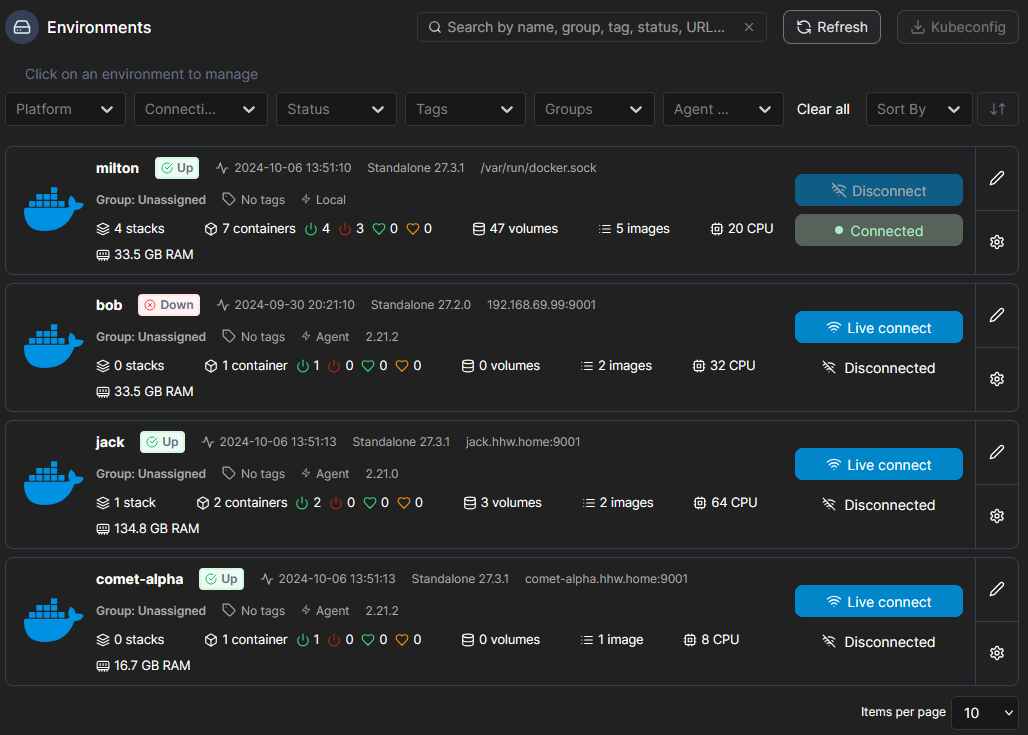
Continue to add as many environments as needed. I have run 10+ before and it really is a time saver. Here is what it looks like with four (bob is shut off which is why it shows as down)