Node
Prerequisites
- Ports 30333 and 30433 must be forwarded for peer connections
- System requirements must be method
- Check the Official Wiki
Organization
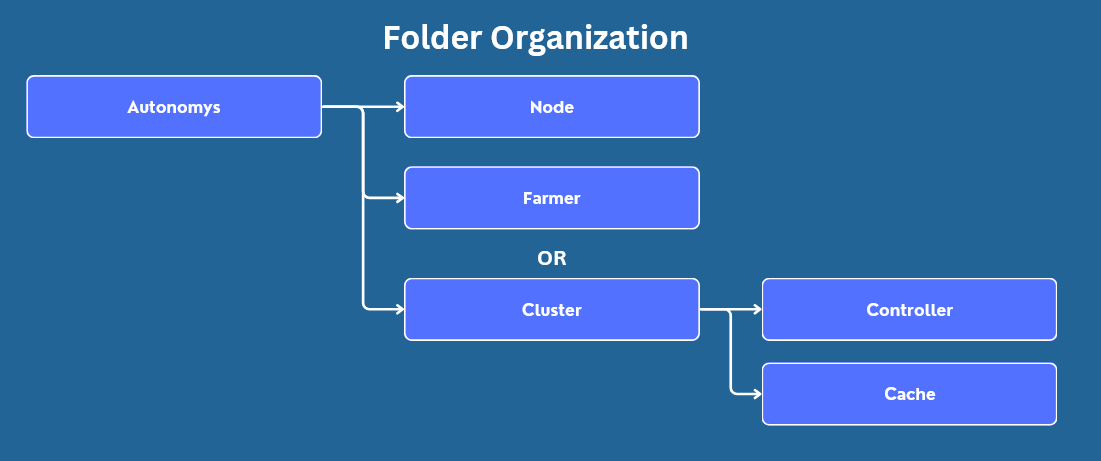
Folder Structure
Organization is subjective, but in this wiki and the following ones this organization structure will be used for the Autonomys components.
Create Node Folder
Create a parent folder called "Autonomys" in your home directory. Then create a subfolder for the "Node". The other folders will be created in the Farmer or Cluster guide depending on which method is used.
Download the Executable
Latest Release
Navigate to the autonomys/subspace Github. On the right side, click the latest release.

At the time of this wiki, the latest release is mainnet-2024-nov-06 and this version will be used in the examples within this wiki. Ensure that the latest version is downloaded, and the commands below are updated to reference the latest version.
Select Executable
There are a lot of options to choose from on the releases page and it is important to select the correct one. The "Node" files are typically located at the bottom. There are two versions available for windows: "x86-64-v2" and "skylake". Details on which one should be chosen are listed on the release page. If unsure what version to use, it is best to ask in the Discord.
In this wiki subspace-node-windows-x86_64-skylake-mainnet-2024-nov-06.exe will be used. Click the asset that corresponds to your setup to download it, then move it to your "Node" directory.
PowerShell Script
To make managing the executables easier and reduce errors, a powershell script will be used to specify the command line arguments and start the Node.
Enable Local Scripts
By default, Windows will block all scripts from being run.

In order to allow scripts created and stored locally to be run the correct Execution Policy needs to be set. Open up a Terminal with Admin priviledges by pressing WIN + x and then selecting "Terminal (Admin)". Then paste in the following code and press enter:
Set-ExecutionPolicy -ExecutionPolicy RemoteSigned

This is generally considered safe as it still blocks scripts downloaded from the internet from being run unless explicitely unblocked. Now close the Terminal as it is no longer needed.
Create the Script
Open up Notepad.
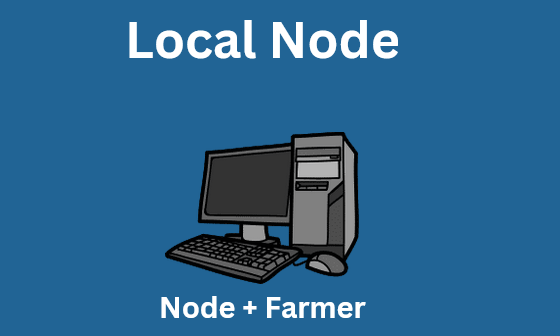
If your Node and Farmer will be on the same host use the Local Node PowerShell Script.
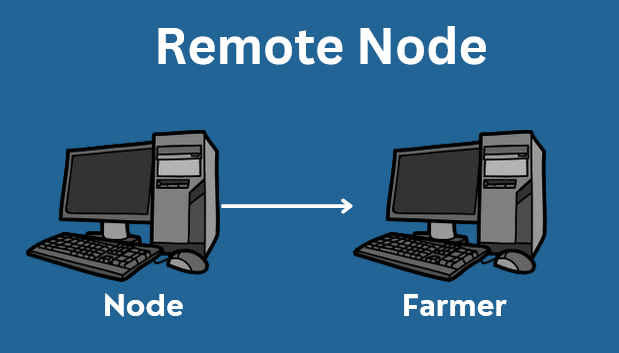
If your Node and Farmer will be on different hosts then use the Remote Node PowerShell Script.
Read through the comments to determine if anything needs to be modified. Typically, only the executable and $NAME variable needs to be updated.
When ready, click "File" > "Save as". Locate and select the "Node" folder created earlier as the save location. Then update the "File name" to node.ps1 and select "All files" from the "Save as type" drop down. Then click "Save".

If the file needs to be edited, simply double click the node file and Notepad will be opened.
Starting the Node
If you try to run the script and you get no error and no output you need to install Microsoft Visual C++ Redistributable. Navigate to Visual C++ Redistributable. In most cases the vc_redist.x64.exe is the right version. Install it and then reboot.
Now that the PowerShell script has been created, the Node can be started. There are two methods that can be used to start the node.ps1 script.
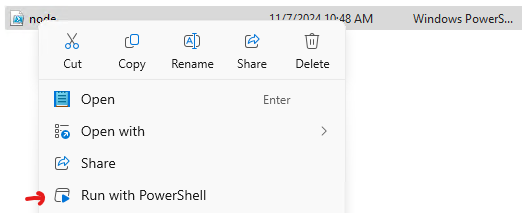
Run with Powershell
The easiest way is to right click on the node file, and then click "Run with Powershell". However, if there is an error with the script, it will close out immediately and the error can not be viewed.
Open in Terminal
The second method is to right click inside the folder (not on the script file) and then select "Open in Terminal".

This will bring up a Terminal already positioned in the Node folder. Simply type "node" and then press tab to autocomplete. It should look like .\node.ps1.
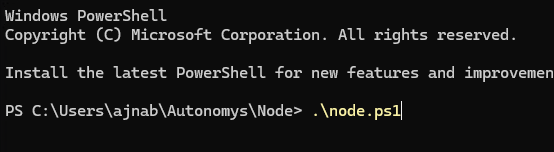
Then press "Enter" to start the script.
Node Syncing
Once the Node has been started, two directories will be created in the "Node" folder: "network" and "db". The Node will begin to connect to peers and sync with the network. There may not be a lot of progress as first, but eventually a "snap-sync" will occur and a large number of blocks will be synced. It looks something like this in the logs:
2024-10-06T15:05:37.481031Z INFO Consensus: substrate: ⚙️ Syncing 711748.0 bps, target=#3589832 (6 peers), best: #3558740 (0x123e…cff3), finalized #3558740 (0x123e…cff3), ⬇ 219.0kiB/s ⬆ 2.0kiB/s
Note that it may take some time (10-20 minutes) to occur. You may also see errors/warns such as, which can be safely ignored:
2024-10-20T20:06:52.675325Z WARN Consensus: telemetry: ❌ Error while dialing /dns/telemetry.subspace.network/tcp/443/x-parity-wss/%2Fsubmit%2F: Custom { kind: Other, error: Timeout }
The most common log file that you will see is something like this:
2024-10-06T15:00:57.441368Z INFO Consensus: substrate: ⚙️ Syncing 0.0 bps, target=#3589783 (4 peers), best: #0 (0x0c12…1c34), finalized #0 (0x0c12…1c34), ⬇ 13.5kiB/s ⬆ 3.9kiB/s
Syncing 0.0 bps- This is normal at first and we should see it increasetarget=#3589783- This is the current block height, and will increase.(4 peers)- Current peers. This should eventually increase to 40best: #0- Our current synced blocks, this will eventually need to reach thetarget